I drew this pattern years ago with paper, pencil and a decent math set. A friend of mine scanned it for me and there it sat for years.
With a proper system now in place for managing my (still few) diagrams, I thought it would be a good idea to break it up and colourize it. So I now present a more ledgible version, and hope you enjoy.
1 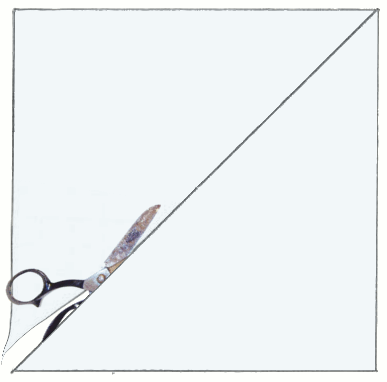 We'll be using a triangle for this shape, so cut the paper in half diagonally, and use only one of them |
2 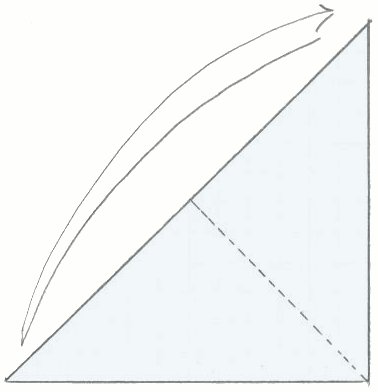 fold it in half, bringing the two furthest corners together. Then unfold it. |
3 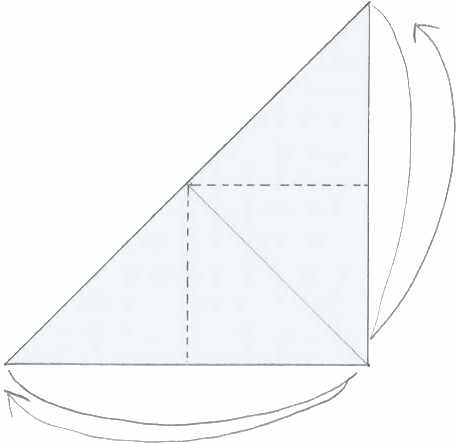 Bring both of the outside corners in to meet the middle one, creasing the paper. Then unfold them. |
4 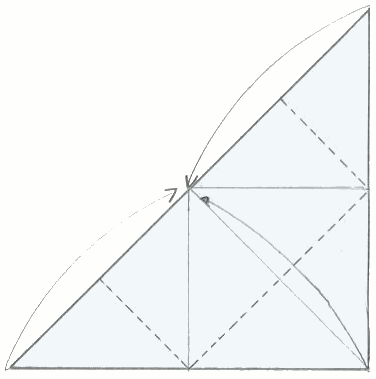 Fold all three corners in to meet the middle of the longest edge. |
5 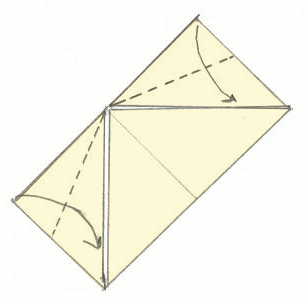 Fold the edges of the two outside triangles in to meet the the edges of the inside triangle. |
6 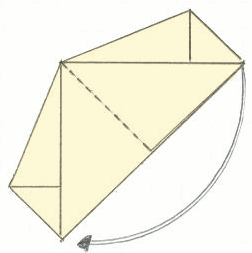 Fold the paper in half. |
7 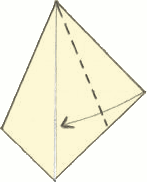 fold the newly formed edge in to meet the vertical crease. |
8  Unfold the creases made in steps 5, 6, and 7. |
9 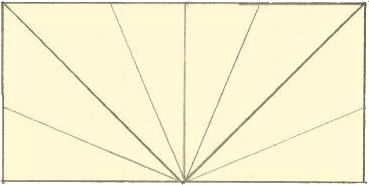 The diagram is now scaled up and rotated 135° counter-clockwise. |
10 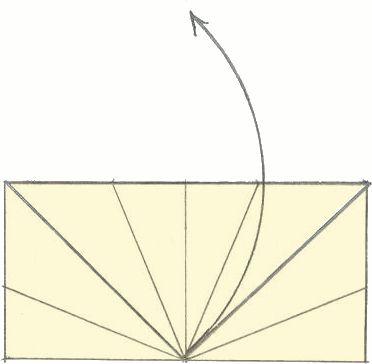 Open up the middle flap that was formed in step 4. |
11 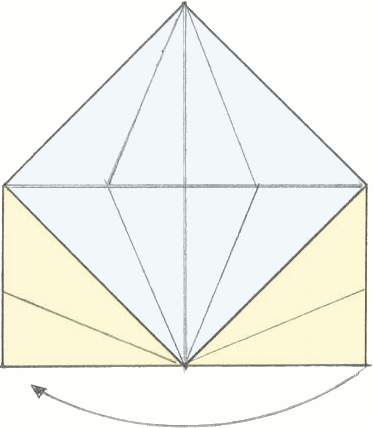 Fold the right side of the paper over to meet the left side. |
12 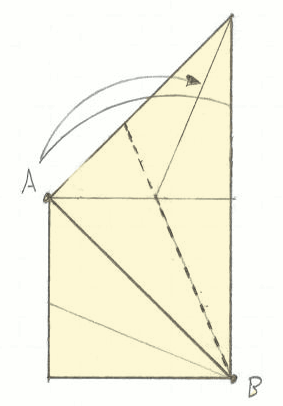 Fold the right edge of the paper over to meet the diagonal line between points A and B. Then unfold it. |
13 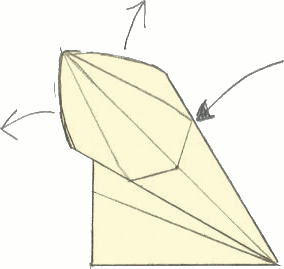 Lift the upper triangle away from the surface you are working on. Open it up, Separating the two layers of paper. |
14 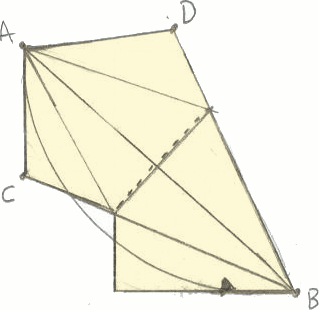 Flatten it out completely, following the creases made in step 12. Then lift point A and bring it over to meet point B. As you do this, points C and D will close together and meet each other. |
15 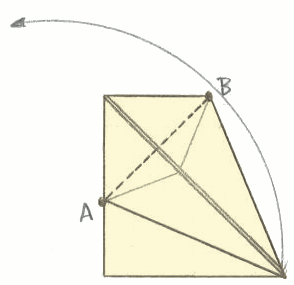 Lift the new flap of paper and fold it back in the direction it pointed on step 14. This will form a new crease between points A and B. |
16 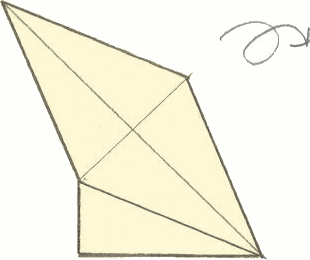 Flip the shape over. |
17 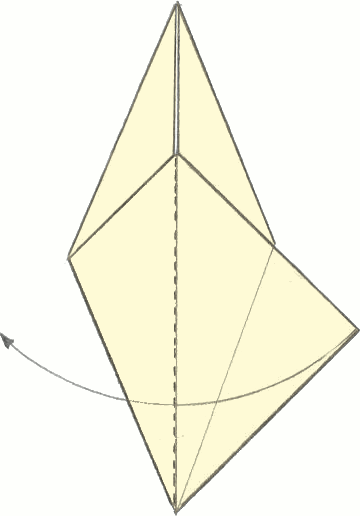 The diagram is now scaled up again and rotated 45° clockwise. Flip the top layer over, rotating around the center crease. |
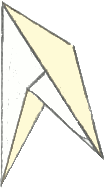
18 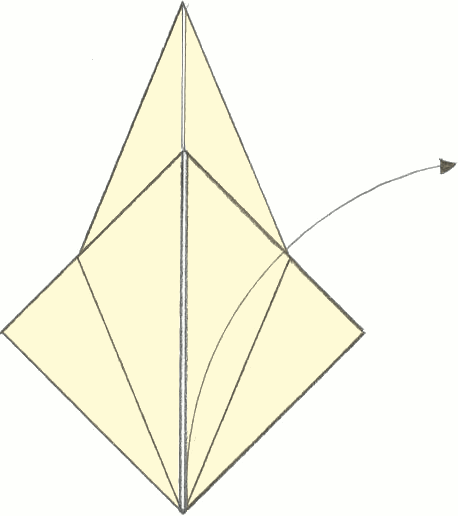 Bring the bottom point of the lower-right triangle up, opening that side of the shape. |
19 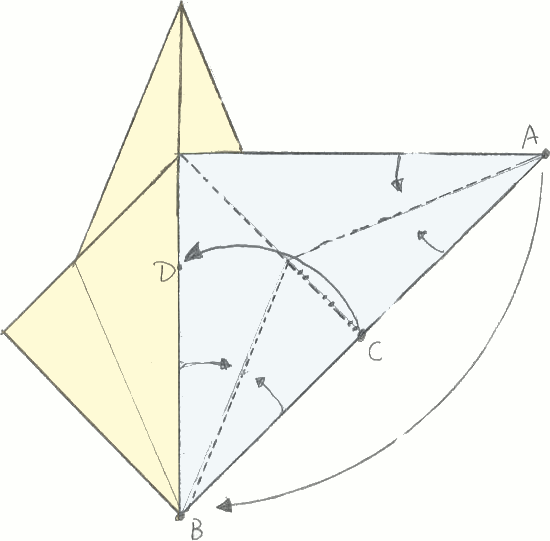 Bring point A back down to meet point B. At the same time, bring
point C over to meet point D. This will form something called a
"rabbit ear", which looks similar to the image shown below.
|
20 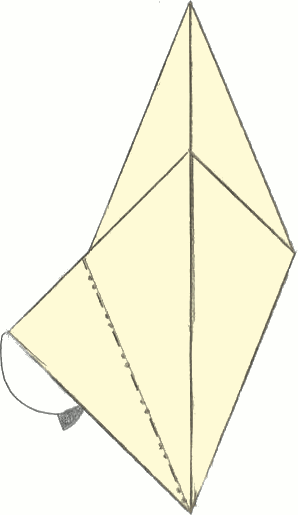 Repeat steps 18 and 19 on the opposite side. |
21 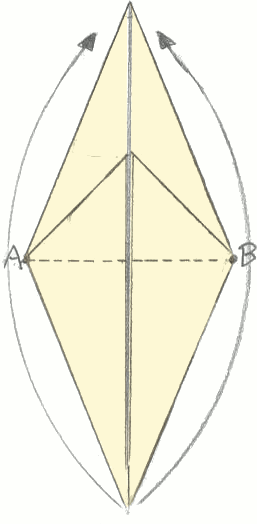 Bring both of the bottom flaps up to met the top corner. This will add a crease between points A and B. |
22 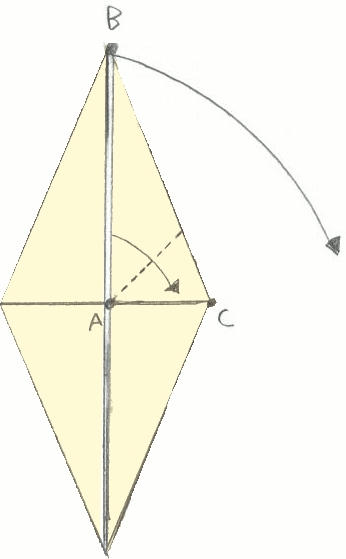 Now fold the flap on the right down at a 45° angle, forming the crease indicated in the diagram. The edge between points A and B should now line up with the crease between points A and C. |
23 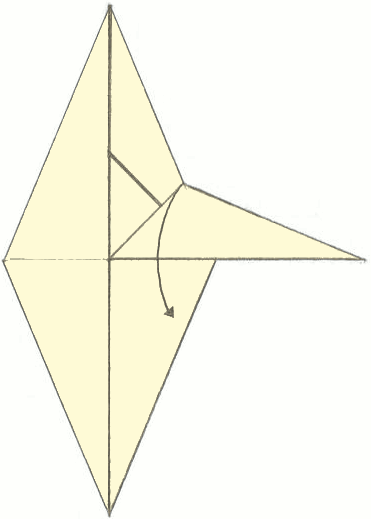 Flip that same layer of paper over so that you can see the other side of it. |
24 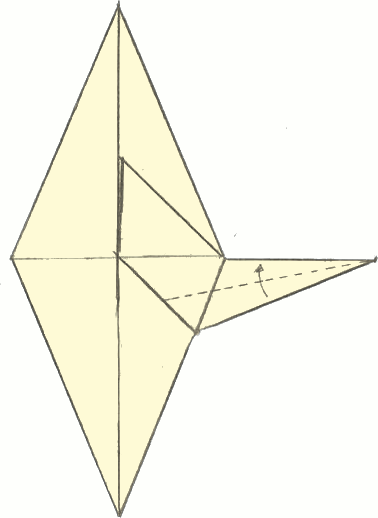 Bring the lower edge of that flap up to meet its upper edge, forming a new crease in the paper. |
25 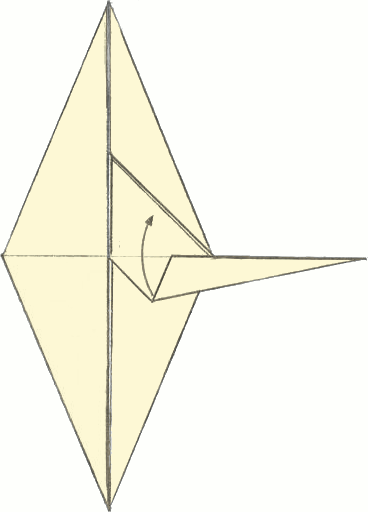 Now flip that layer over again. |
26 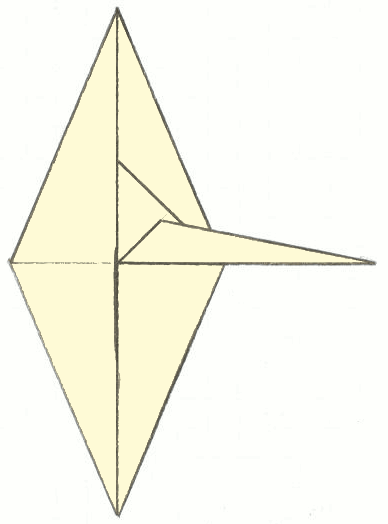 Repeat steps 22 through 25 on the left side. |
27 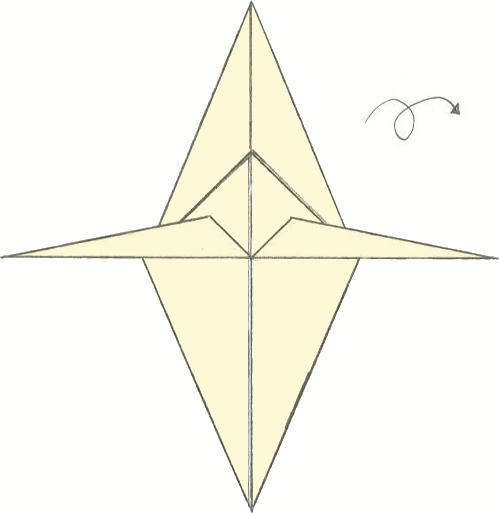 Flip the entire shape over. |
28 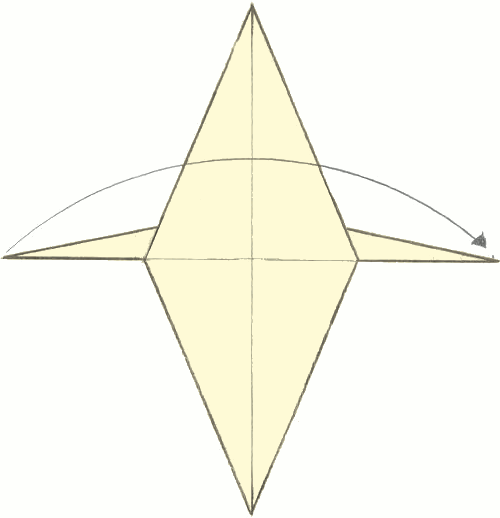 Fold it in half along the vertical center crease. |
29 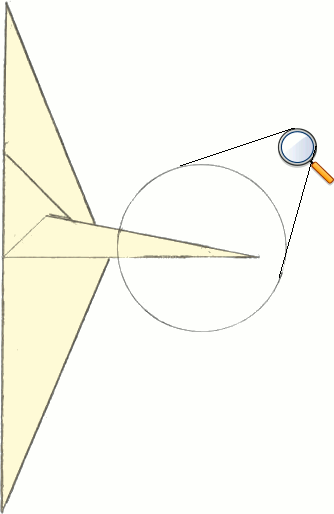 Now we need to focus on the area that will become the legs and feet of the bird. |
30 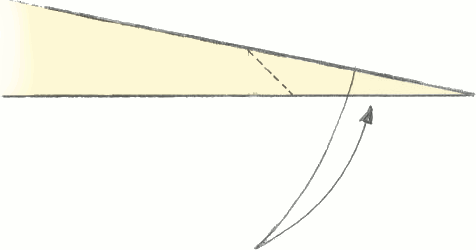 Take one of the legs and fold it down at a 45° angle, forming a crease like the one shown here. The location of the crease will determine the length of the feet and the legs. Now take the other leg and fold it exactly the same way. Then unfold them both. |
31 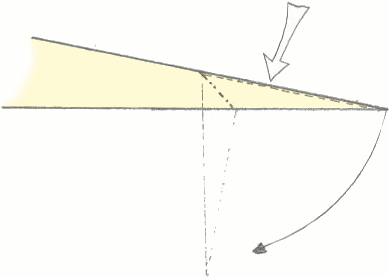 Following the creases made on step 30, invert the end of the leg (see the next step for clarification). |
32 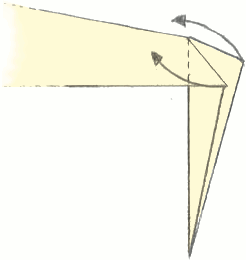 Fold the two newly formed flaps back toward the top of the leg. |
33 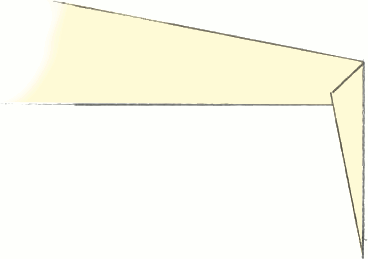 Now repeat steps 31 and 32 on the other leg. |
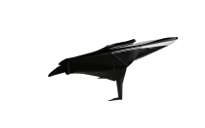
34 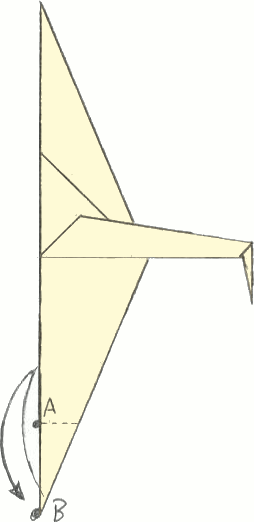 Looking again at the entire shape, we will now fold the bird's head. Start by taking the bottom corner, folding it upwards along the spine of the bird. The place where you make the crease will determine the size of the bird's head. In this diagram, the bird's head will be as long as the distance between points A and B. Once the crease in made, open it back up. |
35 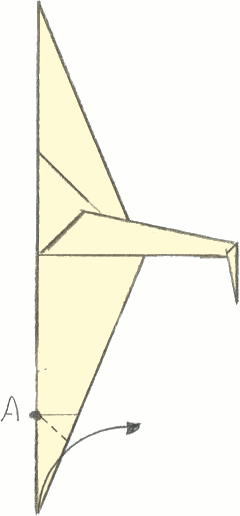 Fold the part below the crease you just made over towards the right. The angle at which you fold it does not need to be exact; it will determine the angle of the bird's head. Take note that the two creases must meet each other on the spine of the bird (marked by point A). |
36 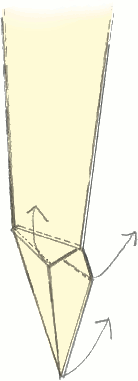 Open up the head of the bird, separating the two sides. The creases made on step 35 should now fall back around the ones made in step 34. |
37 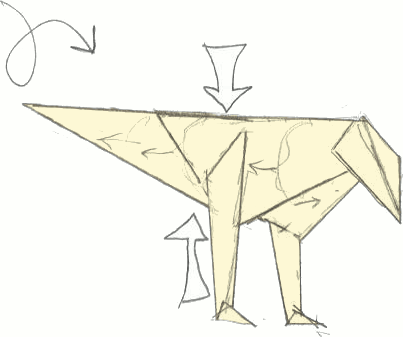 Finally, gently squash the top and bottom of the bird's torso together, allowing the sides to curve out, giving it a rounded body. |
38 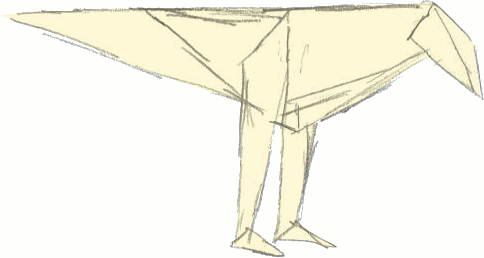 You now have an origami raven. In order for it to balance properly on its own, you will probably need to adjust the angles of the feet, and possibly the legs as well. |
This pattern is one that I use in several other shapes as well. All of my dinosaurs use this same base shape, and my vulture is almost identical, with the shape of the head being the only difference.