This is the only shape in this list of instructions that does not actually have proper diagrams. Unlike the others, this shape is described using photo instructions rather than diagrams. It is nonetheless workable, and results in a pretty little hummingbird.
This hummingbird is one of my older shapes, and also one of the simplest. It works very well with it's beak tucked into a flower.
1 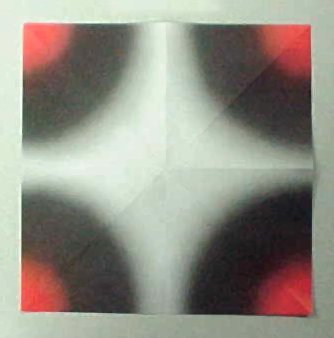 Start with a squae piece of paper ond fold it in half vertically, horizontally, and along both diagonals. Then unfold it. |
2 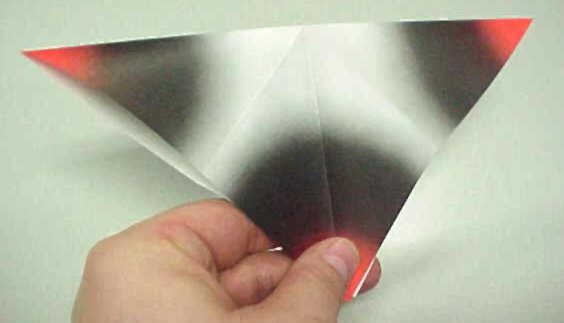 Now fold it in half along one of the diagonal creases. |
3 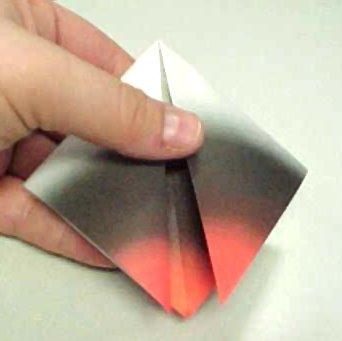 Following the creases already made, bring the two end corners down to meet the bottom one. |
4 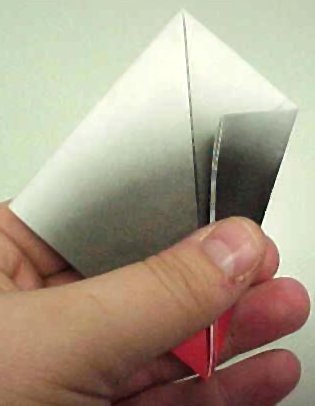 Fold one of the bottom edges of the paper in to meet the center line. Repeat this on the other side, forming a kite shape. |
5 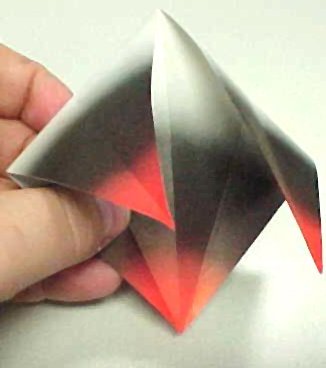 Unfold the creases made in step 4, and slightly open up the folds made in step 3. |
6 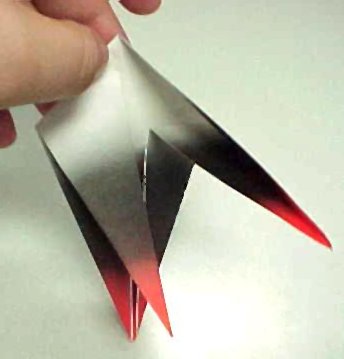 Following the creases made in step 4, tuck the bottom two edges into the center of the shape. |
7 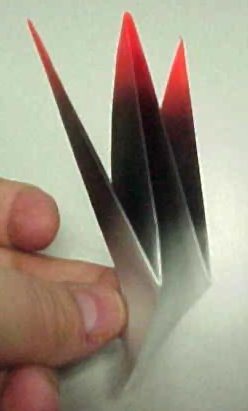 Fold the entire shape in half vertically, with the two newly formed wings sticking out. |
8 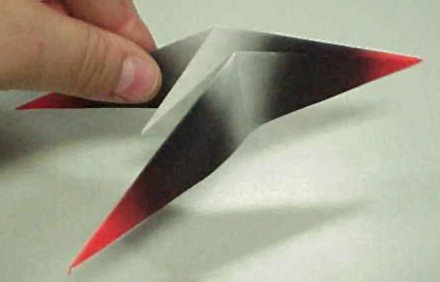 Fold the two wings back completely, forming new creases underneath them. |
9 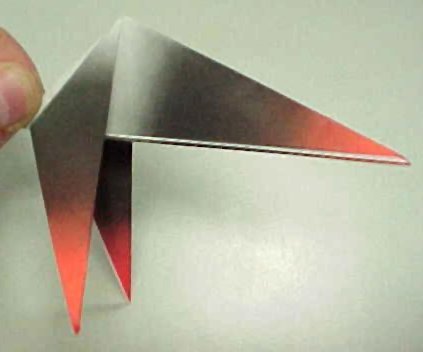 Now fold the top edges of the wings down to the creases where they connect to the body. |
10 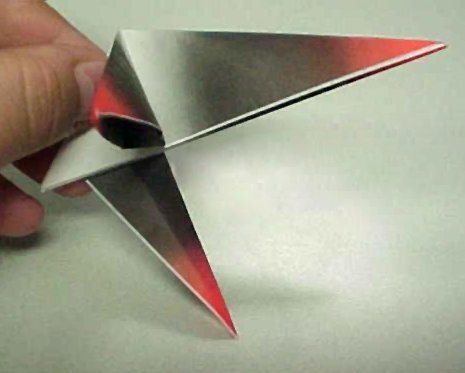 Unfold one of the wings away from the body, and open it up slightly at the bottom. |
11 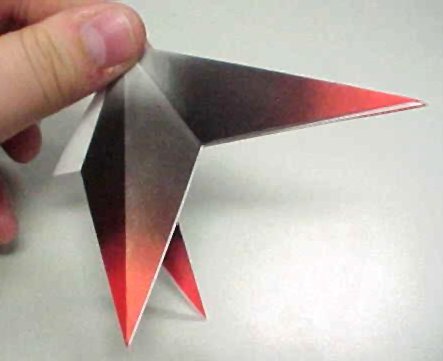 Collapse the opened wing down upon itself, following the creases that are already there. |
12 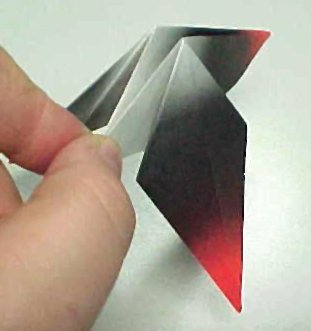 Repeat the previous two steps on the other wing. |
13 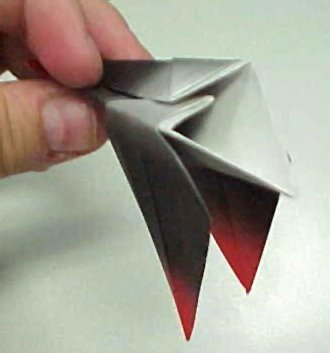 Fold the longer top edges down into the shape to meet the center crease at the bottom. |
14 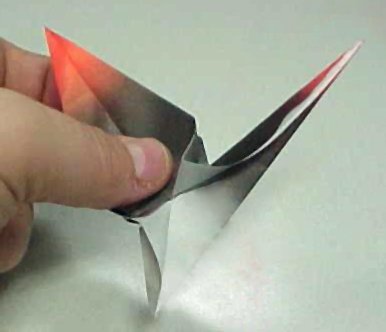 Pull both wings back and flatten out the curved edges that form the base of the wing. The angle at which you flatten them out can vary, and is not extremely important. It should however leave a slight curve in the paper where the wings connect to the body. |
15  Crease the long, thin end (hereafter referred to as the "neck") to approximately 90 degrees. This will determine the direction in which the bird's head pounts and does not need to be exact. Unfold it after making the crease. |
16 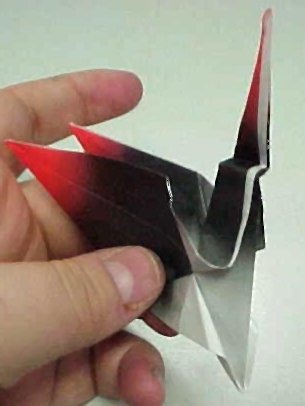 Above the crease made on the previous step, make a zig-zag fold in the "neck". This will determine where the head stops and the beak starts. |
17 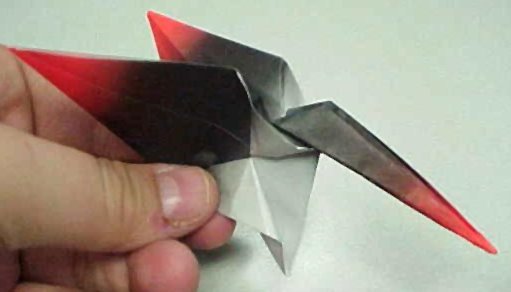 Following the crease made in step 15, invert the upper part of the neck. |
18 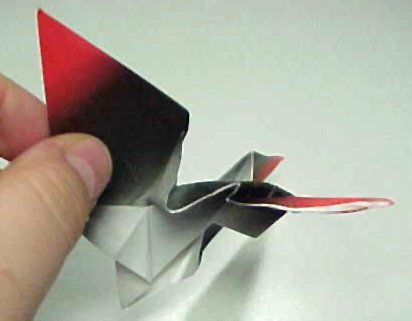 Open up the head a little bit and, following the creases made in step 16, tuck the beak slightly into the head. (note that due to my shoddy photography, the creases mentioned are not visible in the previous photograph. They are nonetheless there). |
19  Looking from the front, the wings currently have a concave bowl shape to them. Invert those curves so that they protrude toward the front of the bird. |
20 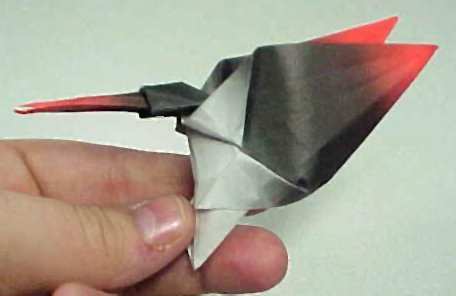 You should now have a hummingbird that looks similar to this one. You may want to adjust the posture slightly, such as the wings or the curve on its "belly", depending on the pose you want to achieve. |